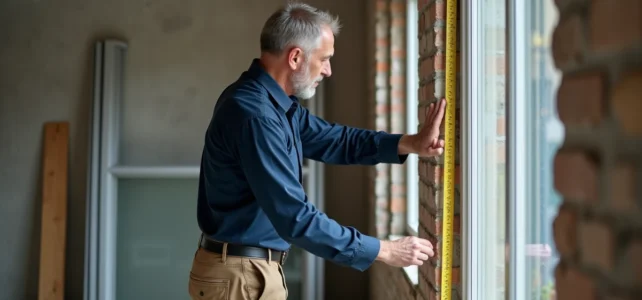
An aluminum joinery is installed on an existing frame or directly into the masonry, depending on whether it is a renovation or a new construction. The difference between these two contexts determines the choice of fixings, the type of sealing, and the final thermal performance. Understanding this distinction before touching the first tool avoids costly corrections on waterproofing or insulation.
Thermal expansion of aluminum: the parameter that the installation must accommodate
Aluminum expands more than PVC or wood when heated. On a large bay, this phenomenon can create mechanical stress on the fixings and joints if the expansion gaps were not accounted for during the leveling process.
Related reading : How to Forward Mail by Crossing Out the Address: Tips and Practical Advice
In practical terms, this means that a calibrated space must be left between the frame and the masonry around the entire perimeter. This space is not left empty: it is filled with a compressible material (polyurethane foam, joint filler + sealant) capable of accommodating the movements of the profile without cracking.
Before installing an aluminum joinery, check that your profiles include a polyamide insulating bar between the interior and exterior faces. This thermal break is what distinguishes a high-performance profile from a simple conductive metal frame. Without it, condensation appears on the interior face of the frame as soon as the first cold weather hits.
See also : How to Easily Activate Autonomous Driving in Your Modern Car
Preparing the bay before installing an aluminum window
The quality of the support determines the durability of the joinery over time. In renovations, the existing frame must be inspected before any intervention.
Diagnosis of the existing frame
Press firmly on the corners of the already installed wooden or metal frame. A frame that moves, has soft spots (rotten wood), or is separating from the masonry cannot receive a renovation installation. In this case, a complete removal is necessary, and the installation should be done directly into the masonry.
Also check the horizontal and vertical levels with a spirit level. A slight misalignment of a few millimeters is enough to prevent the proper closing of the openings. Adjustment shims can correct small discrepancies, but a frame that is too deformed requires masonry work.
Dimensions and measurements
Measure the width and height of the opening at three points: top, middle, bottom for the width, and left, middle, right for the height. Keep the smallest measurement in each direction to ensure that the joinery fits into the opening. Allow for the expansion gap mentioned earlier on each side.
Fixing and leveling an aluminum joinery step by step
Once the bay is ready, the installation follows a precise sequence. Each step conditions the next.
- Position the frame in the bay, holding it with wooden or plastic shims. Place the shims at the corners and at the points of fixation, never in the middle of a post without support.
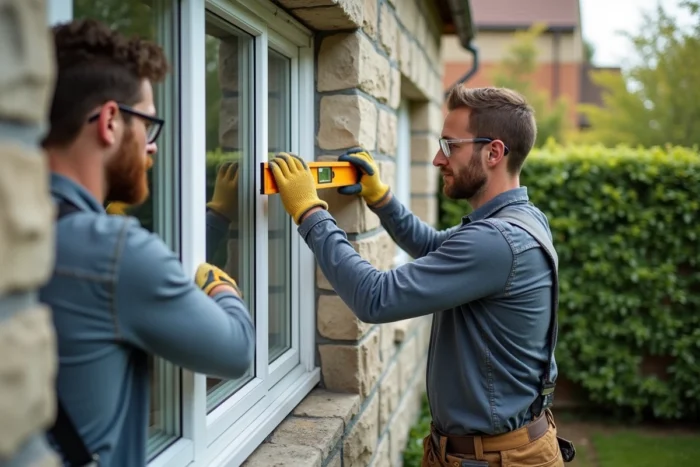
- Check the plumb (vertical) and level (horizontal) of the frame. Adjust the shims until you achieve a perfectly straight frame. Also check the diagonals: if they are equal, the frame is square.
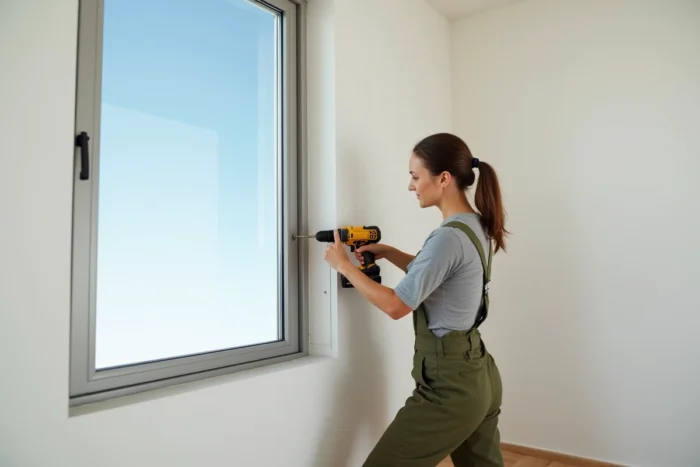
- Drill through the frame into the masonry at the designated locations, then fix with frame screws or brackets depending on the configuration. Tighten gradually and alternately to avoid deforming the profile.
- Hang the openings on the frame and test the opening, closing, and locking. An opening that rubs or does not lock indicates a squaring defect that must be corrected before proceeding to sealing.
Sealing and peripheral insulation: the critical point of the installation
Mere mechanical fixing is not enough to make the joinery effective. It is the peripheral sealing that determines whether the window will meet its promises in thermal and acoustic insulation.
Apply a compressible seal or silicone sealant on the exterior side to block water infiltration. On the interior side, expanding polyurethane foam fills the space between the frame and the masonry to cut off air flows. Be careful not to overload: overly expanded foam can deform the aluminum frame.
In new constructions subject to the requirements of RE2020, the joinery is often installed within the thickness of the insulation (tunnel installation or applied on insulation). This positioning eliminates the linear thermal bridge at the opening. If you are renovating with external insulation (ITE), the same principle applies: the frame must be located in the plane of the insulation, not recessed into the bare wall.
Trims and finishes
Insulation trims (added pieces on the frame) allow the depth of the frame to be adapted to the thickness of the insulation. On the interior side, a cover strip or finishing bead masks the junction between the frame and the wall. On the exterior side, a window sill with a slope towards the outside directs runoff water away from the frame-masonry connection.
Tools needed to install an aluminum window yourself
Working with aluminum does not require specialized tools, but certain tools are essential for a clean result:
- Spirit level (or laser level for large bays), tape measure, and carpenter’s square for dimensional control.
- Drill-driver with concrete and metal bits, frame screws suitable for the type of wall (concrete, brick, block).
- Silicone gun, expanding polyurethane foam, compressible seal, plastic adjustment shims.
- Screwdriver, rubber mallet to adjust openings without scratching the profile, utility knife for foam finishing.
The rubber mallet deserves a mention: hitting an aluminum profile with a metal hammer leaves permanent marks on the lacquered surface. The rubber transmits the force without damaging the surface.
The success of installing aluminum joinery relies less on the complexity of the actions than on the precision of the leveling and sealing. A perfectly plumb frame with correctly installed seals lasts for decades without intervention. Neglecting the squaring check or peripheral sealing cancels the thermal performance of the window, regardless of the price of the glazing.